Showing posts with label tutorial. Show all posts

Monday, October 29, 2012

31DC Day 10: Gradient (Ombre + Tutorial)

The prompt for day 10 of the 31 day challenge is gradient. I was having trouble trying to decide what exactly I was going to do for this mani, but I remembered Sarah's (at Chalkboard Nails) gradient mani she did last year, and I loved it! It's an ombre gradient using all 5 nails.

I only used one base color for this look: OPI From A To Z-urich from the Germany collection. It's a pretty dusty red.
(This shot was taken after a few days of chipping and peeling!) With flash
Supplies to use:
  • Piece of blank white paper
  • Cotton swabs (Q-tips)
  • Base color (From A To Z-urich)
  • Mix-ins in black and white (Wet N Wild Black Creme and NYC French White Tip)
  • Acetone/polish remover
Note: I used the same brush (base color brush) to mix the different colors, but you have to be careful to thoroughly clean it several times throughout the process if you choose to do it this way. Using a clean, separate brush is recommended. Also, try not to ever get any acetone in your polish bottles, because it can ruin polish!

Now let's begin!

Start with a nice base coat. I usually use the Seche Vite base coat, but I tried one I got from Claire's, it worked pretty well!

Paint both of your middle fingers the base color of your choice. (For this manicure, make sure to do both hands at the same time.)

Drop some base color onto the paper, and mix in only ONE DROP of black. The color gets dark very quickly so start with one drop and take it from there. Mix it in and paint onto the nail next to your middle finger. Repeat by adding about another drop of black and paint onto the next nail.

Clean off your brush, as we are going to mix lighter colors now.

Pour some more of the base color onto the paper, this time mixing in white. You need a lot more white to make the color lighter than you needed black to make it darker. Mix in enough white to make the base color a tint lighter. When you are happy with the color, paint it on the other nail next to your middle finger.

Repeat by adding more white to your already-lighter mix, and paint on your final finger.

Top with your favorite topcoat! (Seche Vite is mine ☺ )

(No flash)
Hope you like it & try it out!! :)

Sunday, September 30, 2012

RIP Avalanna ♥ 31DC Day 6: Violet (Angel Wings + Tutorial)

September 30, 2012.
Last Wednesday, 26 September 2012, one of the cutest and sweetest little girls you would have ever met passed away at age 6 due to a brain cancer she had. Avalanna Routh meant so much to so many people, including me. Her condition was AT/RT, atypical teratoid rhabdoid tumor, and there is no cure.
Avalanna was so sweet and such an inspiration. I really do miss her, when I heard she couldn't make it, my heart broke. I'm still so depressed, and so is Justin Bieber. I think he loved her the most. ♥

"@justinbieber: My angel"

"'@justinbieber: :) great night"

My manicure for day 6 of the 31DC is for Justin Bieber, who kicked off his #BELIEVEtour yesterday in Arizona, and of course, for Avalanna. love you ♥ xo
31DC Day 6 prompt: Violet
The base is two coats of Sally Hansen HD Hi-Definition nail polish #01 Cyber.

After that dries a little, I used L.A. Colors Art Deco in white to paint on the shape of an angel wing.

Then, I added swoops of glitter to make the wing more distinguishable, using L.A. Colors Art Deco in Silver.

These pictures really don't do the angel wing justice, but I like how it came out.
Rest in paradise, sweet Avalanna. I love you so much, you're in our hearts forever angel ♥ xxxx


Monday, September 24, 2012

31DC Day 5: Blue ( + Cloud Mani Tutorial)

Today is 24 September 2012, and the 24th day of the 31 day challenge. I am wayyyy behind, I just got so caught up with school and birthday parties and picnics, I haven't had time to post!
Sorry!

But, anyway day 5's prompt is blue. I chose to do a cloud mani, and I loved the results! It was my first time doing this, and I'm happy I chose this design. The tutorial I looked at is from Jane at Nailside.

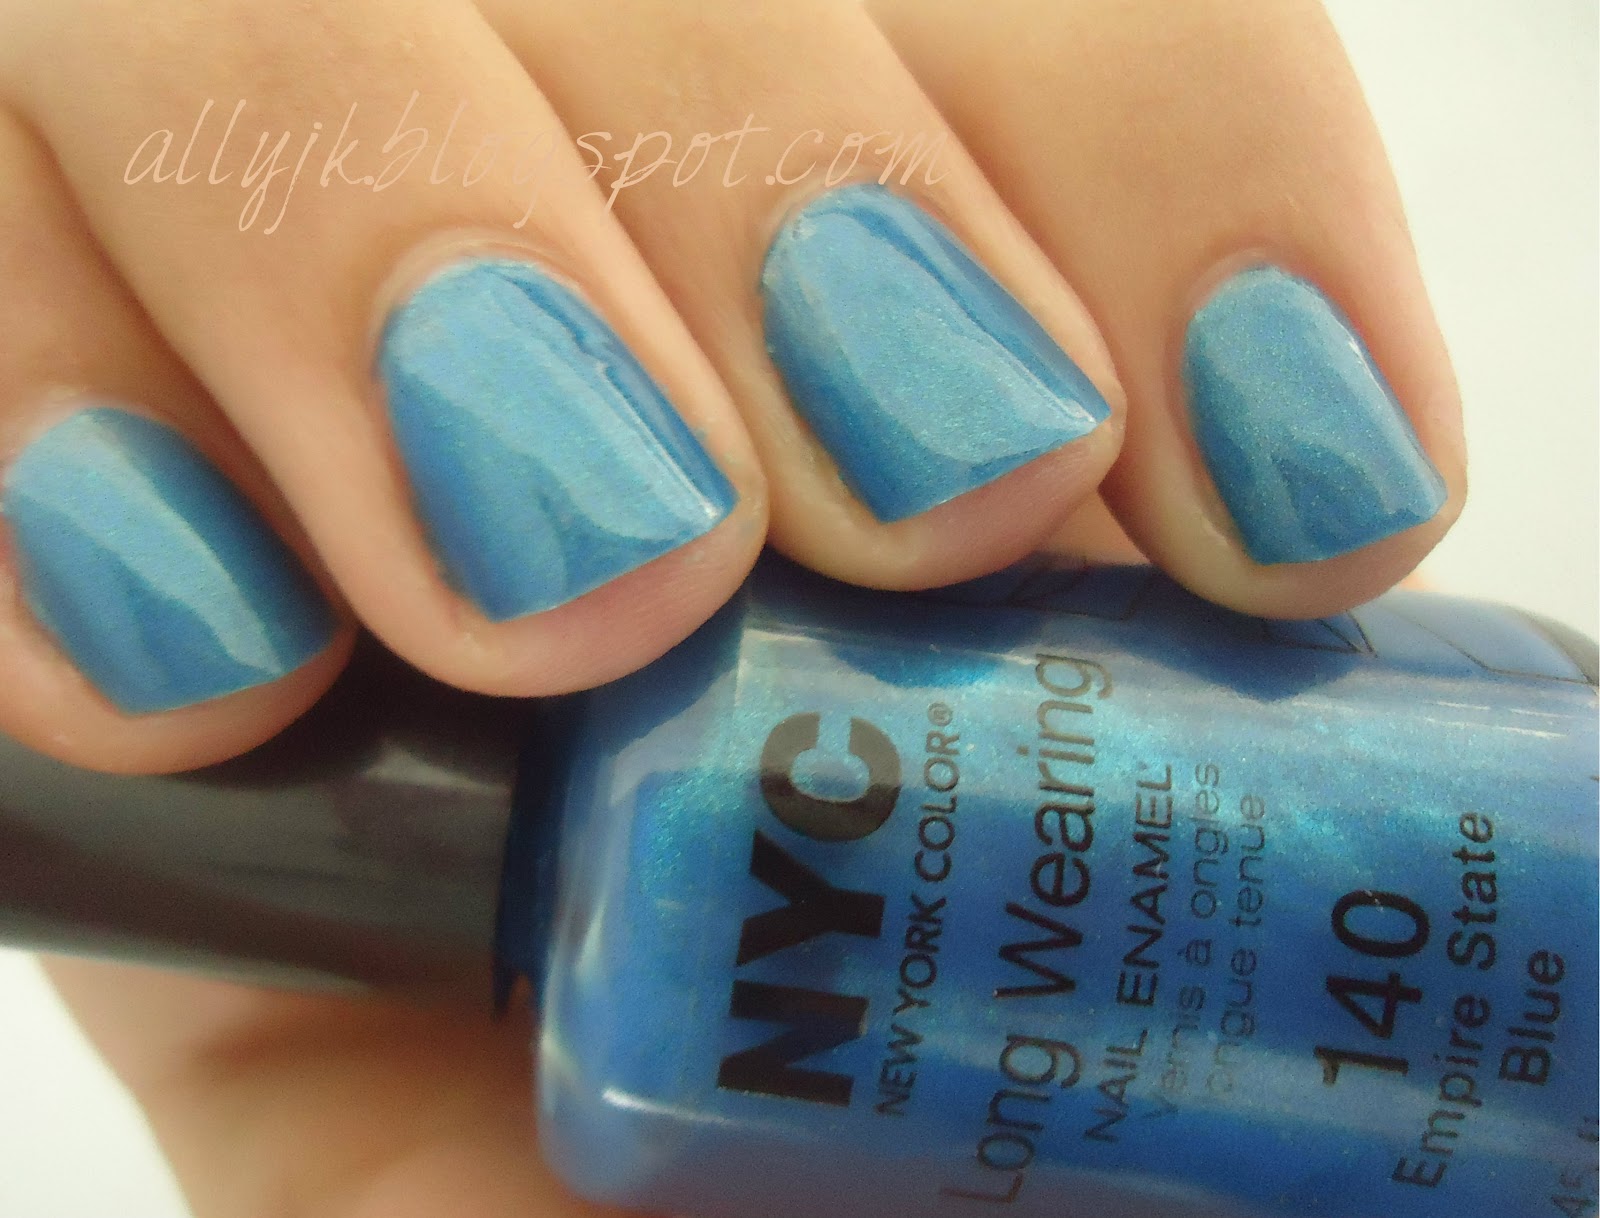
I started off with 2 bases of NYC Empire State Blue.


I love the shimmer in this polish!


Using NYC French White Tip take a regular polish brush and make one stroke at the edge of your nail. Make sure it's rounded towards your cuticle.


Then, make two more smaller strokes next to each other.


Take a different color and, after the white has dried a little, do the same thing with the strokes. I used Orly Le Chateau.


Top it all off with Seche Vite and voila! Love love love how it turned out! Although I expected the navy to be a bit lighter.


This polish came with the cutest little file! I had to show this to you guys :)

Sunday, September 9, 2012

31DC Day 3: Yellow (+ Half-Moons Tutorial)

So originally, Day 3 of the 31DC for me was supposed to be September the 3rd, and I am trying to catch up as much as I can. The prompt is yellow. Most people don't think yellow is a good color to polish nails, but I actually loved how this one turned out! I was so surprised with these results, and it was my first time doing half-moons :) loved it.

I started off with a base of NYC French White Tip.


Then, for the half-moons, I took a reinforcement for paper and used it on the bottom part of my nail (like I would do in a scotch-tape mani).


Paint the next color, Claire's Yellow Brick Road, over the top part (above the reinforcement).


Take it off before the newly applied polish has time to dry, and voila!


After, just take your favorite topcoat, mine is Seche Vite, to make your nails more smooth and shiny.


Monday, July 23, 2012

Pink Lemonade (Polka Dots + Tutorial)

Coral is a great summer color for this year. For this mani, I used  2 coats of L'Oreal #410 Mango-Get-Em as the base and let dry.


Love this color. 
Then, I took a Q-tip (people use dotting tools for dots, but you can just use the tip of a Q-tip like me), dipped it in Claire's Yellow Brick Road. I just poked some dots randomly on my nails. It doesn't have to be perfect, because it's not that noticeable. If polish get on your skin, you can just clean it up with a Q-tip and polish remover.


I just love how it came out, it looked so cute and summer-y! Thanks for looking :)


Saturday, March 10, 2012

Some Zebra Stamping

Hey guys :)
So for this one I just decided do do some zebra stamping on a hot pink polish.
I went to Sally's beauty supply to buy a new black nail polish, because all the ones I have really aren't that good for stamping, and I found an Orly on sale. It came with a cute little filer with lace on the back too! :) So, I thought it was perfect, and I bought it. When I got in the car and was on may way home, I realized it was a deep navy blue, but I thought I'd try it on my nails anyway. So here's what I got:

I did a base coat and then used NYC (New York Colors) Fuchsia Shock Creme on all of my nails. After that, I added a top coat to let it dry faster.


Then, using Orly Le Chateau, I stamped some zebra print. I wish this color would have been darker than what came out on my nails. Hope you guys like it though! :)


Wednesday, February 22, 2012

A Presidents' Day Mani... +Tutorial

Well, I know Presidents' Day was 2 days ago, but I can still show you guys, right?! :)
This mani was inspired by the American flag.

First, do a good base coat so when you remove this polish, there won't be any blue stains.
Then, using Wet N' Wild Sapphire Blue, paint every nail twice, except your ring finger, to use as an accent nail. I painted my accent nail with NYC New York Colors #134 French White Tip.

After that, paint a good top coat over all of them. Wait until your accent nail is COMPLETELY dry, and tape it off. I used the Wet N' Wild Sapphire Blue on the top corner, and Wet N' Wild Red Red on the opposite bottom corner.


This would also be a great idea to do on the 4th of July! :)